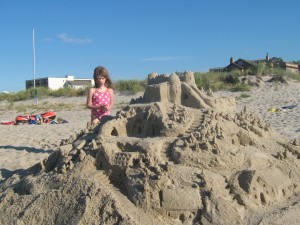
I will be on the Market Street beach in Lewes, Delaware, building castles August 5 – September 30, and hope to see you there, and build with you!
Until I can get to the beach in August,  :
:
Tools needed: bucket (to carry water, and to dig with) small plastic shovel for carving (never dig with shovels – use your bucket!) For molds: plastic spoon, cup, small buckets, funnels – anything!
Plan where your castle will be – check where and what time the last high tide was- saltwatertides.com. Check the moon phase (tides higher on full and new moon. Remember: the higher the castle, the bigger the base will have to be.
1. Start by splashing (not pouring) water on the flat sand area of your chosen spot for the base.
2. Next, using your bucket, scoop up the sand just splashed from the perimeter, and throw into the center, working around the circle. (This way, there won’t be any holes on the beach!) 3. Splash that small pile you have with water, and repeat (till you’re tired!)
4. Pack down the wet sand you’ve just splashed, and you will be ready to build, mold, and carve, always working from top down.
For molding: a cup small bucket or plastic mold can be used. Fill the container with water; pour it into dry sand, and mix. Since the mixed sand must be able to mold, see if it will hold together like a meatball in your hand. Use that mixed sand to pack your mold, one handful at a time, packing it in the corners and crevices of the mold as you go. Invert the mold onto your prepared packed, leveled and flattened space. Then, with one hand ready to lift the mold, the other hand will smack the mold until you feel the release, and then you can lift the mold.
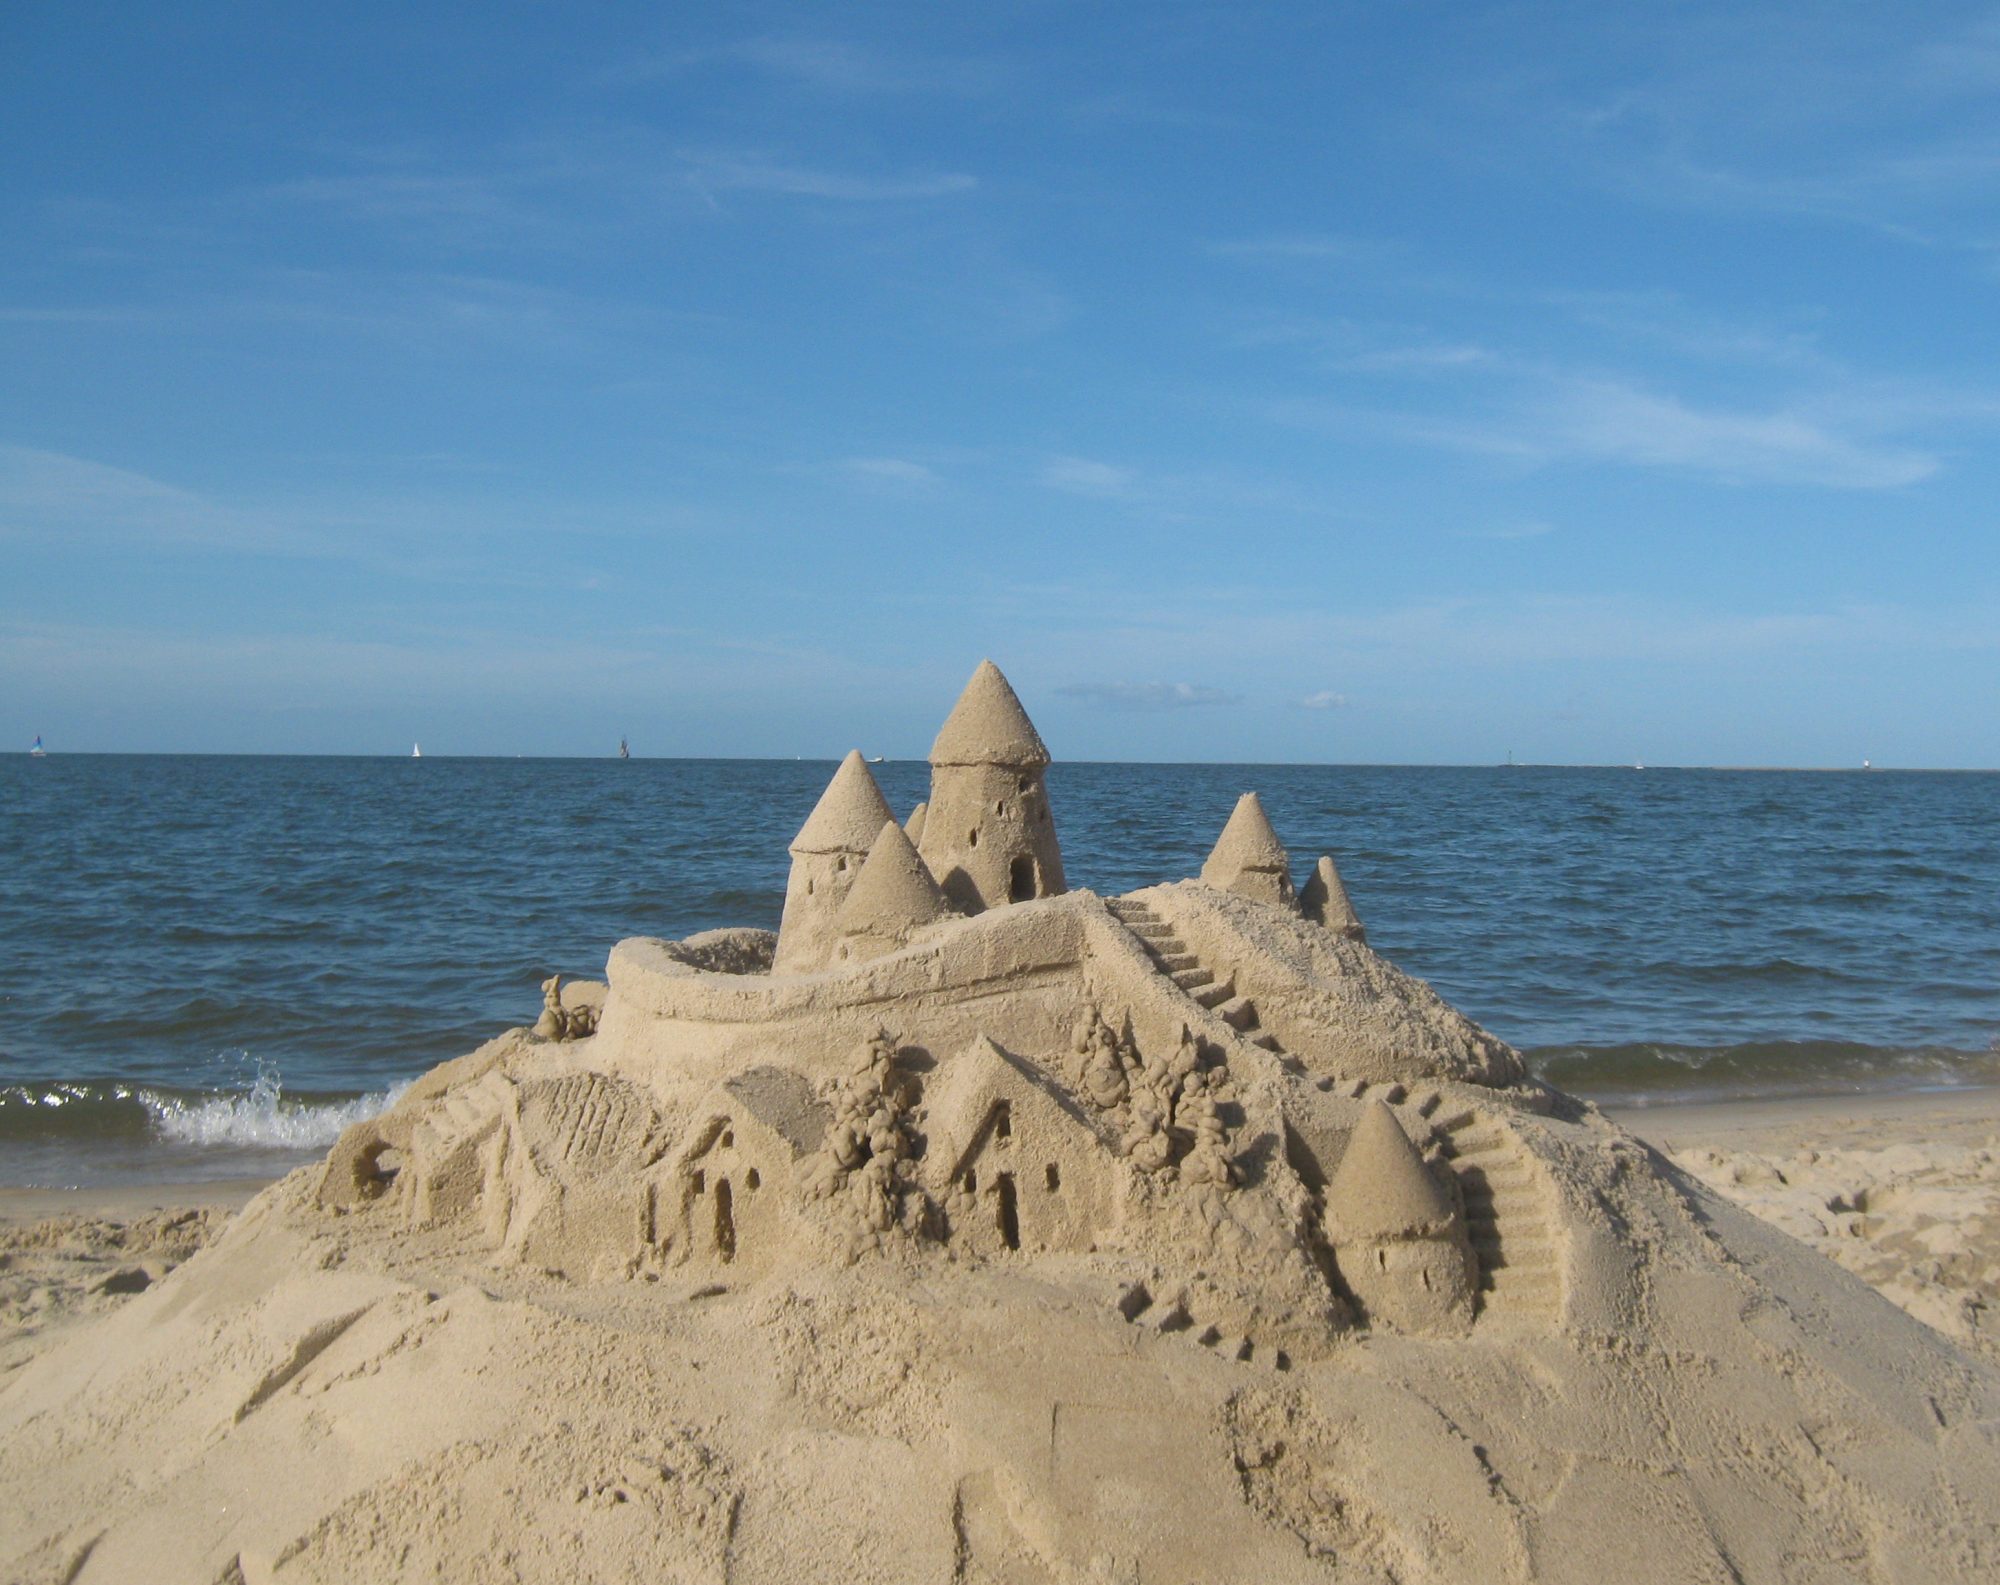
Carving with a small plastic straight edge shovel facing you, carve down, extending the lines of your molded sand. External castle walls can be created using your small shovel in the same way. Use your plastic spoon to carve doors and windows into your castle. To carve stairs, make a ‘sliding board’ on the wet packed sand with your shovel, and then using the shovel upright, facing you, carve down one step and a time, brushing away the carved sand of the step.
One of the nice touches with a castle is to make drip trees (some people call them drip castles. fill your small bucket with water; add half sand, and with your index finger, middle and thumb, drip the water and sand to the height of the tree you want.
Another fun thing to do is to build a village down the mountain side from the castle. Carve the top of a triangle into the packed sand, and add straight sides, for a little house. Use your plastic spoon to carve doors and windows.
Share these tips with anyone you meet who stops to see what you’re doing, and encourage them to build, too!
Take a picture, and be ready to build another castle tomorrow, right on top of todays castle, by splashing water onto the structure, and going through Steps 2 – 4. This will make your castle a little bigger every day that you are there to build!
